


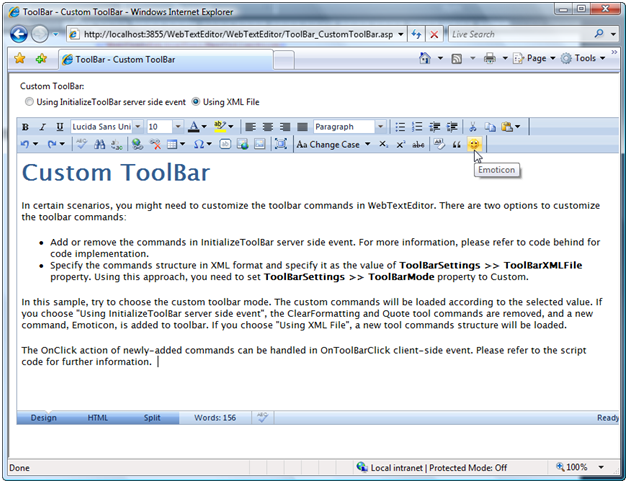
WebTextEditor provides a property to add custom toolbar using xml file.
In this topic, you will learn how to add custom toolbar.
To add custom toolbar using xml file
- Create an xml file that contains WebTextEditor's toolbar collection, such as following:
<WebTextEditorToolBarCollection> <WebTextEditorToolBar Name="WebTextEditor1_tbCustom" Category="Custom" Text="Custom 1"> <ToolCommands> <WebTextEditorToolCommand Name="cmdChangeCase" Text="Change Case" CommandType="ChangeCase" DisplayMode="TextAndImage" Image=" tb_changecase.gif" Type="SplitButton"> <Items> <WebTextEditorToolItem Name="itemUpperCase" Text="UPPER CASE" Image="tb_uppercase.gif" /> <WebTextEditorToolItem Name="itemLowerCase" Text="lower case" Image=" tb_lowercase.gif" /> </Items> </WebTextEditorToolCommand> <WebTextEditorToolCommand Name="cmdEmot" Type="ToggleButton" Text="Emot" DisplayMode="Image" Image="smiley.gif"> <Items /> </WebTextEditorToolCommand> </ToolCommands> </WebTextEditorToolBar> </WebTextEditorToolBarCollection> - Under ToolBarSettings, set ToolBarMode to Custom.
- Define the xml file you have created in ToolBarXMLFile property.
 See Also
Tasks
{How-to: Save and Load ToolBar Structure}
Other Resources
{Custom ToolBar}